I recently attended a fundraiser and the most sought-after raffle item was a Money Tree! The tree was topiary style and paper money was used instead of leaves. This was the first time I had seen one before and I immediately decided that I would be making one for my daughter’s birthday, end of school year accomplishments/graduation and maybe even for Christmas! Now that I have teens, it has become harder to shop for them. Most clothing items end up going back and gift cards get boring after awhile. But the money tree is a fun way to present a gift of cash, and I don’t know any teens that would turn down cash!

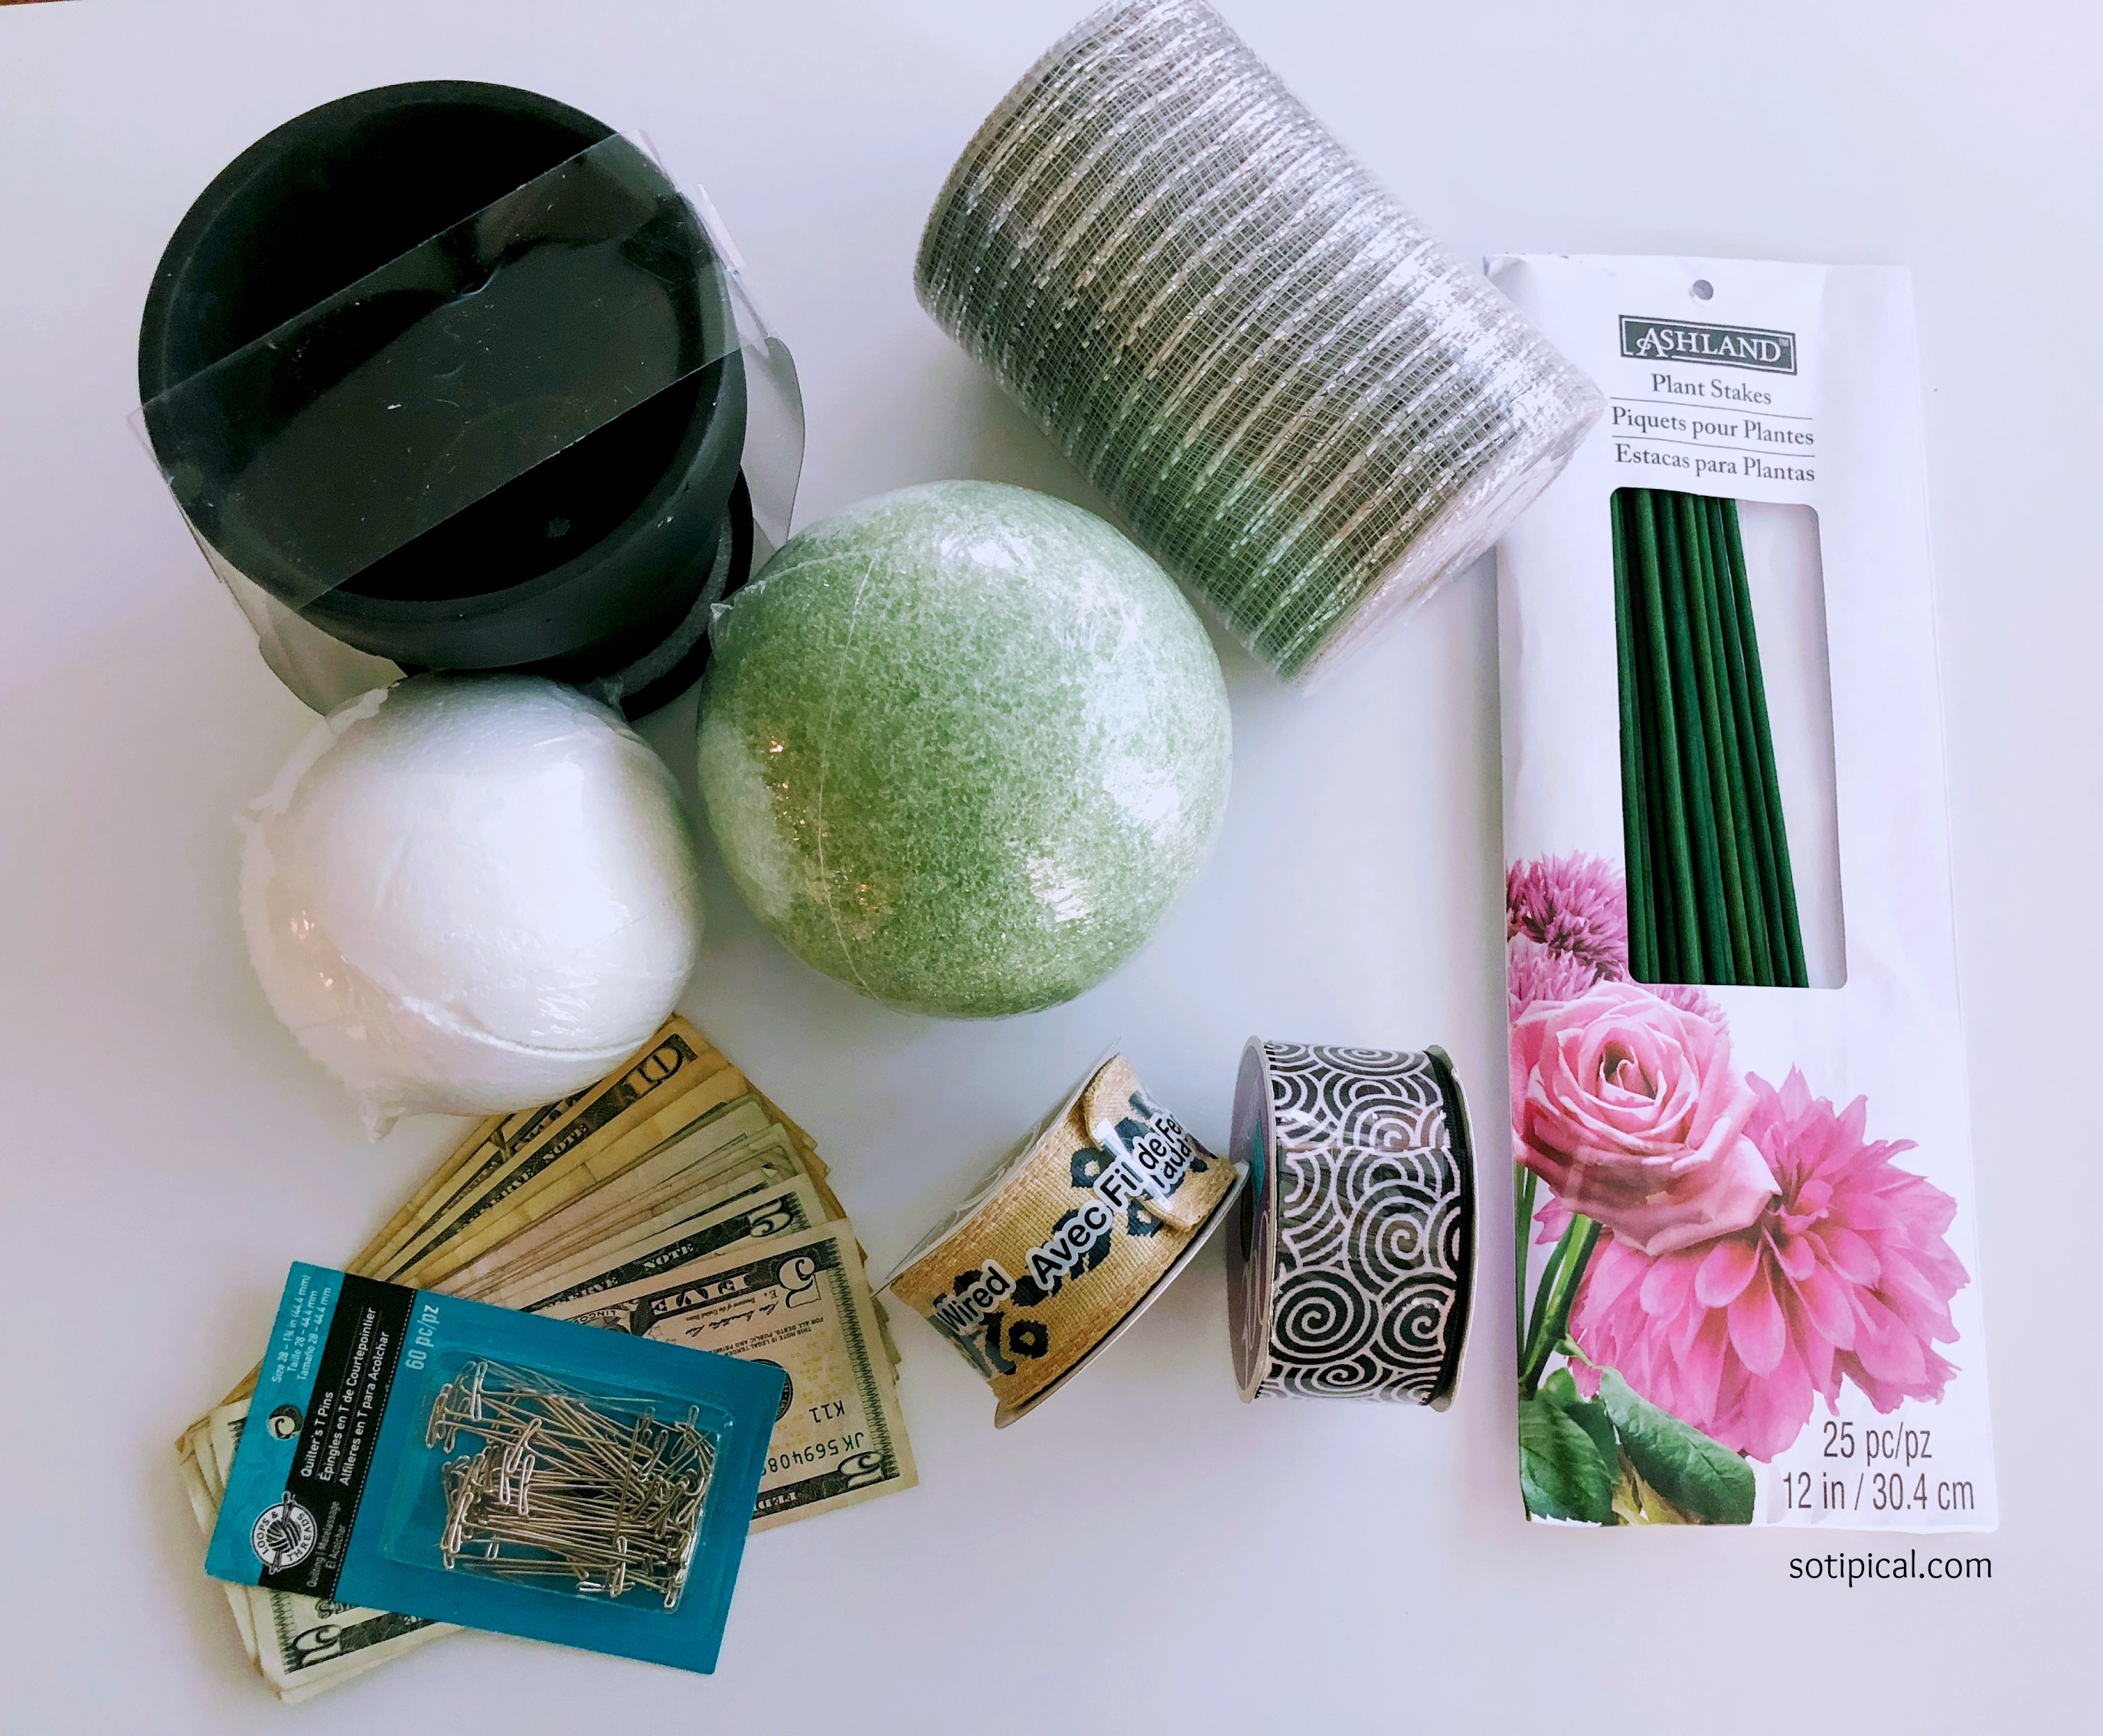
The money tree at the fundraiser was made up of $1 and $2 bills. On average, it would take about 50 or so bills to make up a topiary using a 5 inch styrofoam ball. I didn’t want to use singles, so I used $5 and $10, but added ribbon as filler. Here are the supplies you will need:
- Small Flower Pot
- 5 inch Styrofoam Ball
- Wooden Dowel or Plant Stake
- Styrofoam (or floral foam) to Fill Flower Pot
- Ribbon
- T Pins or Long Straight Pins
- Moss
- Cash
I purchased everything at a local craft store. Terra cotta pots are less expensive, but I opted for a black pot, covered in chalkboard paint.
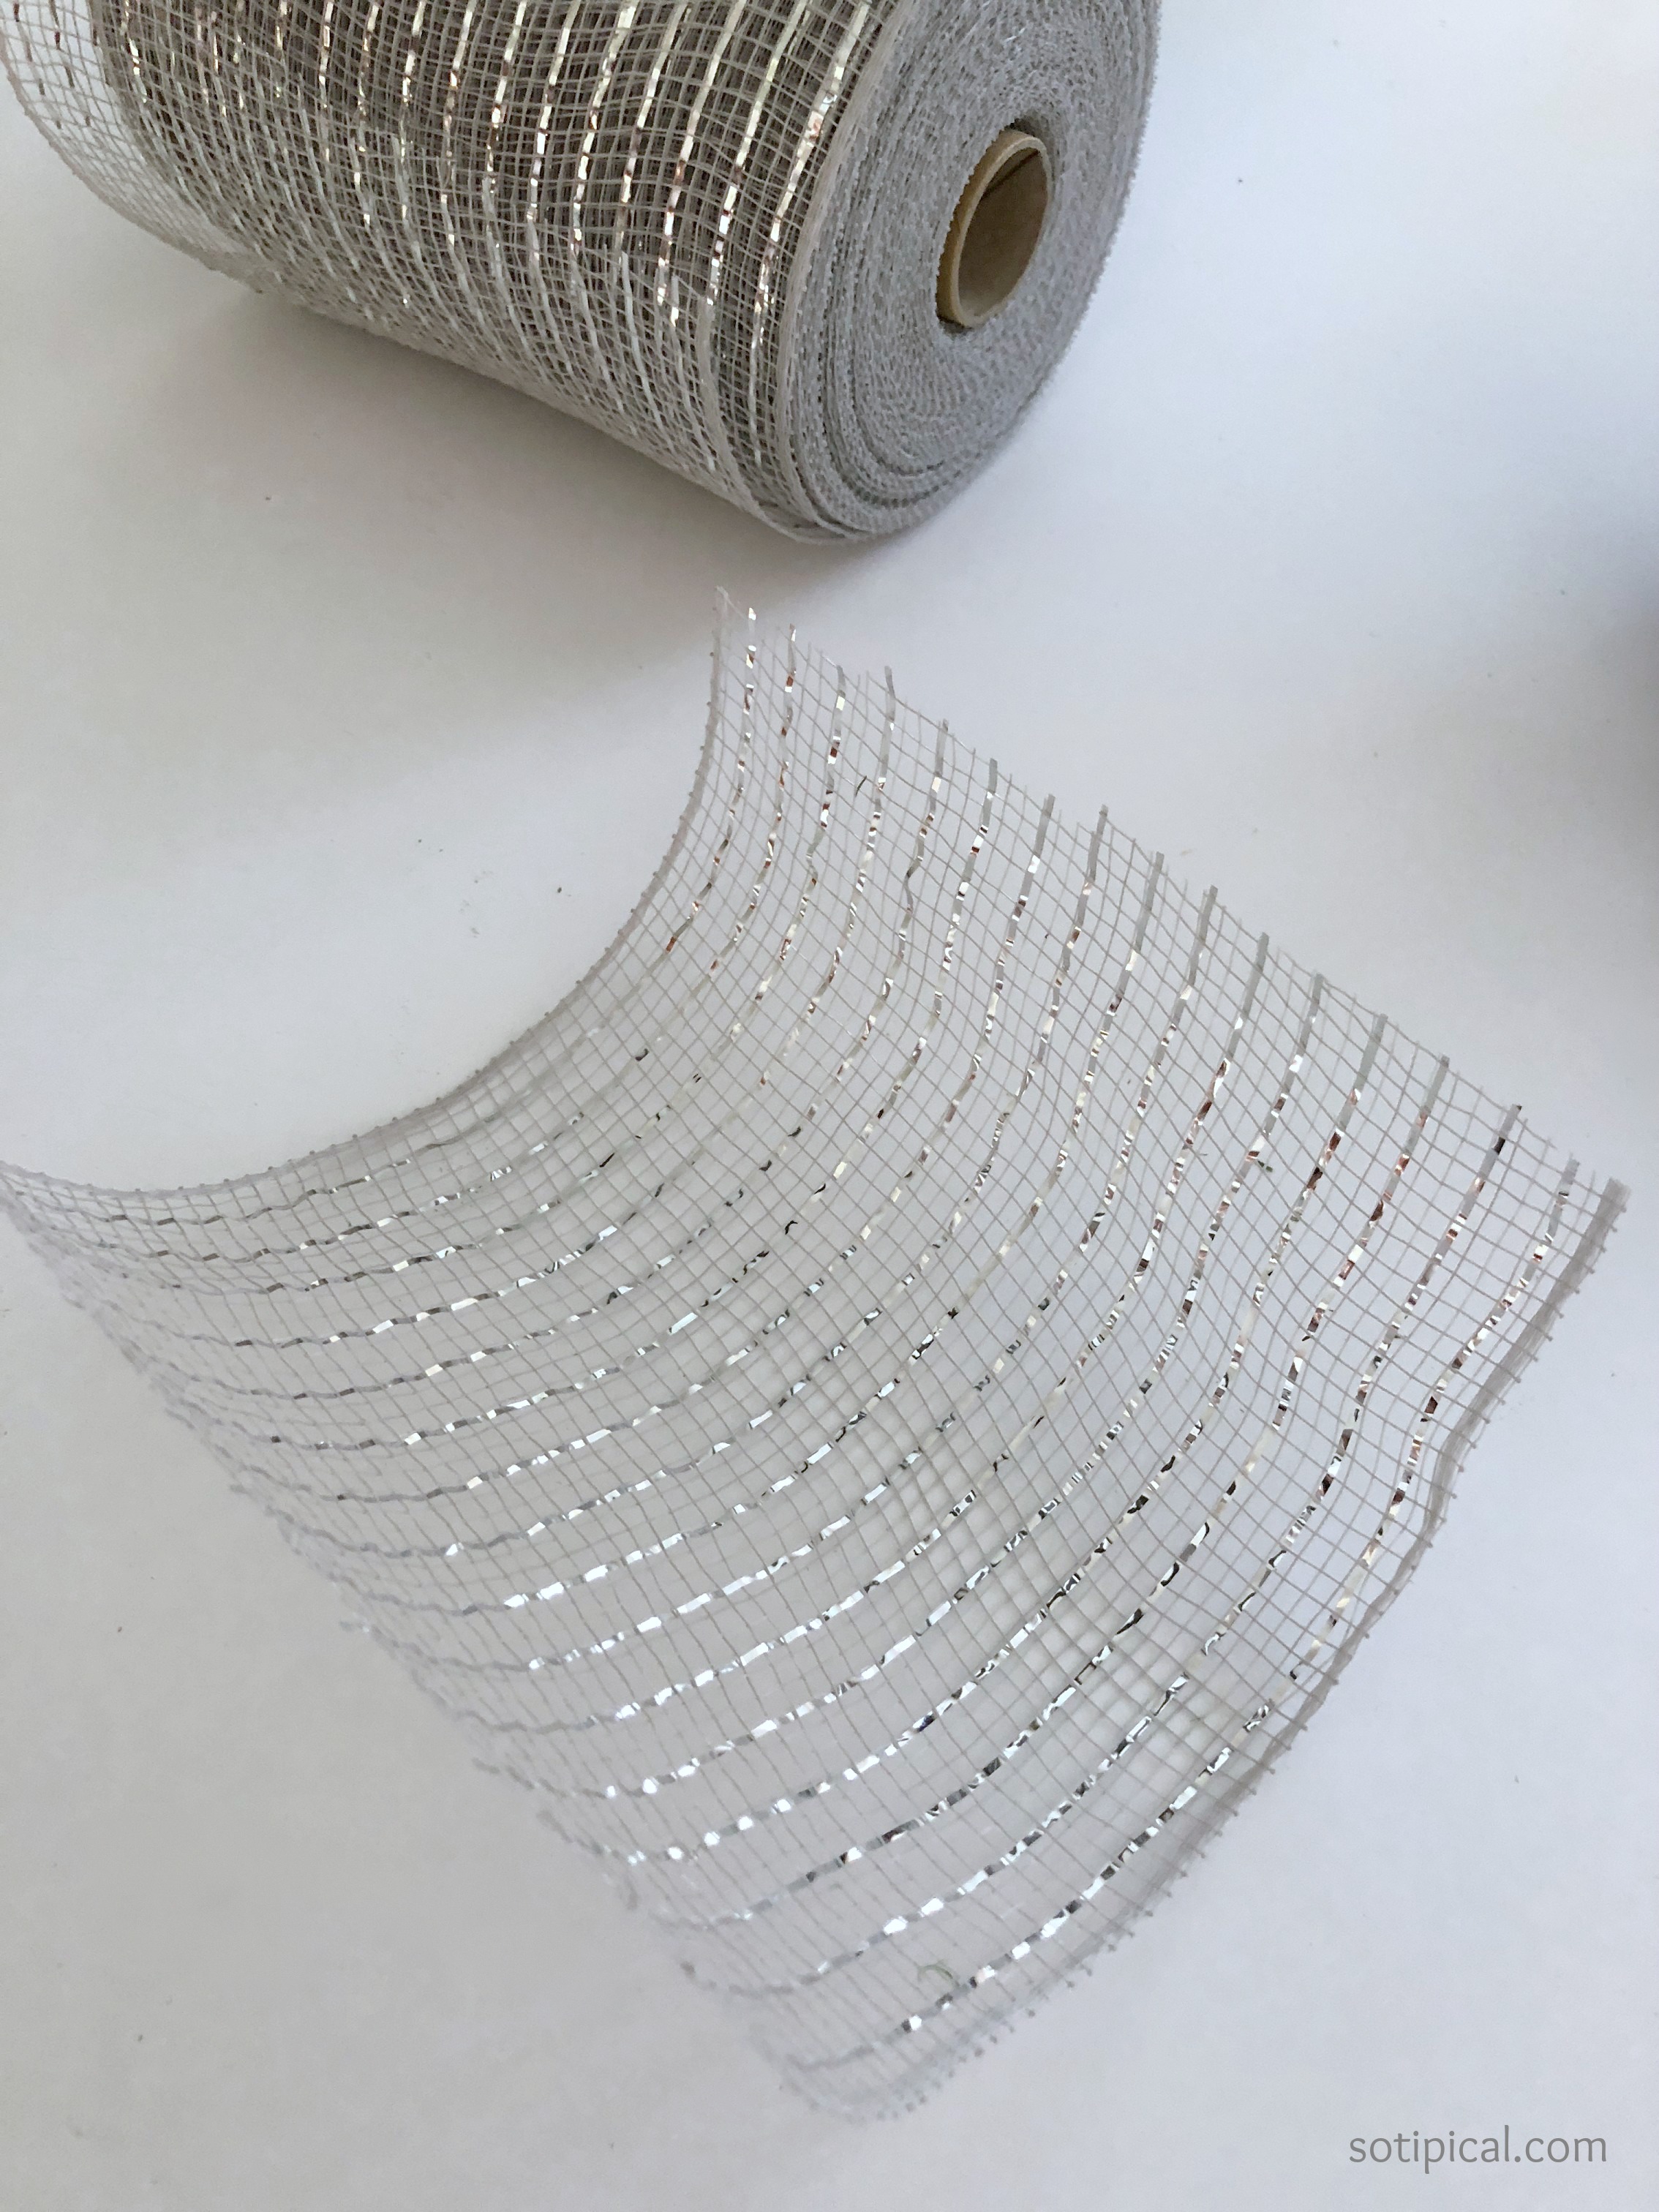
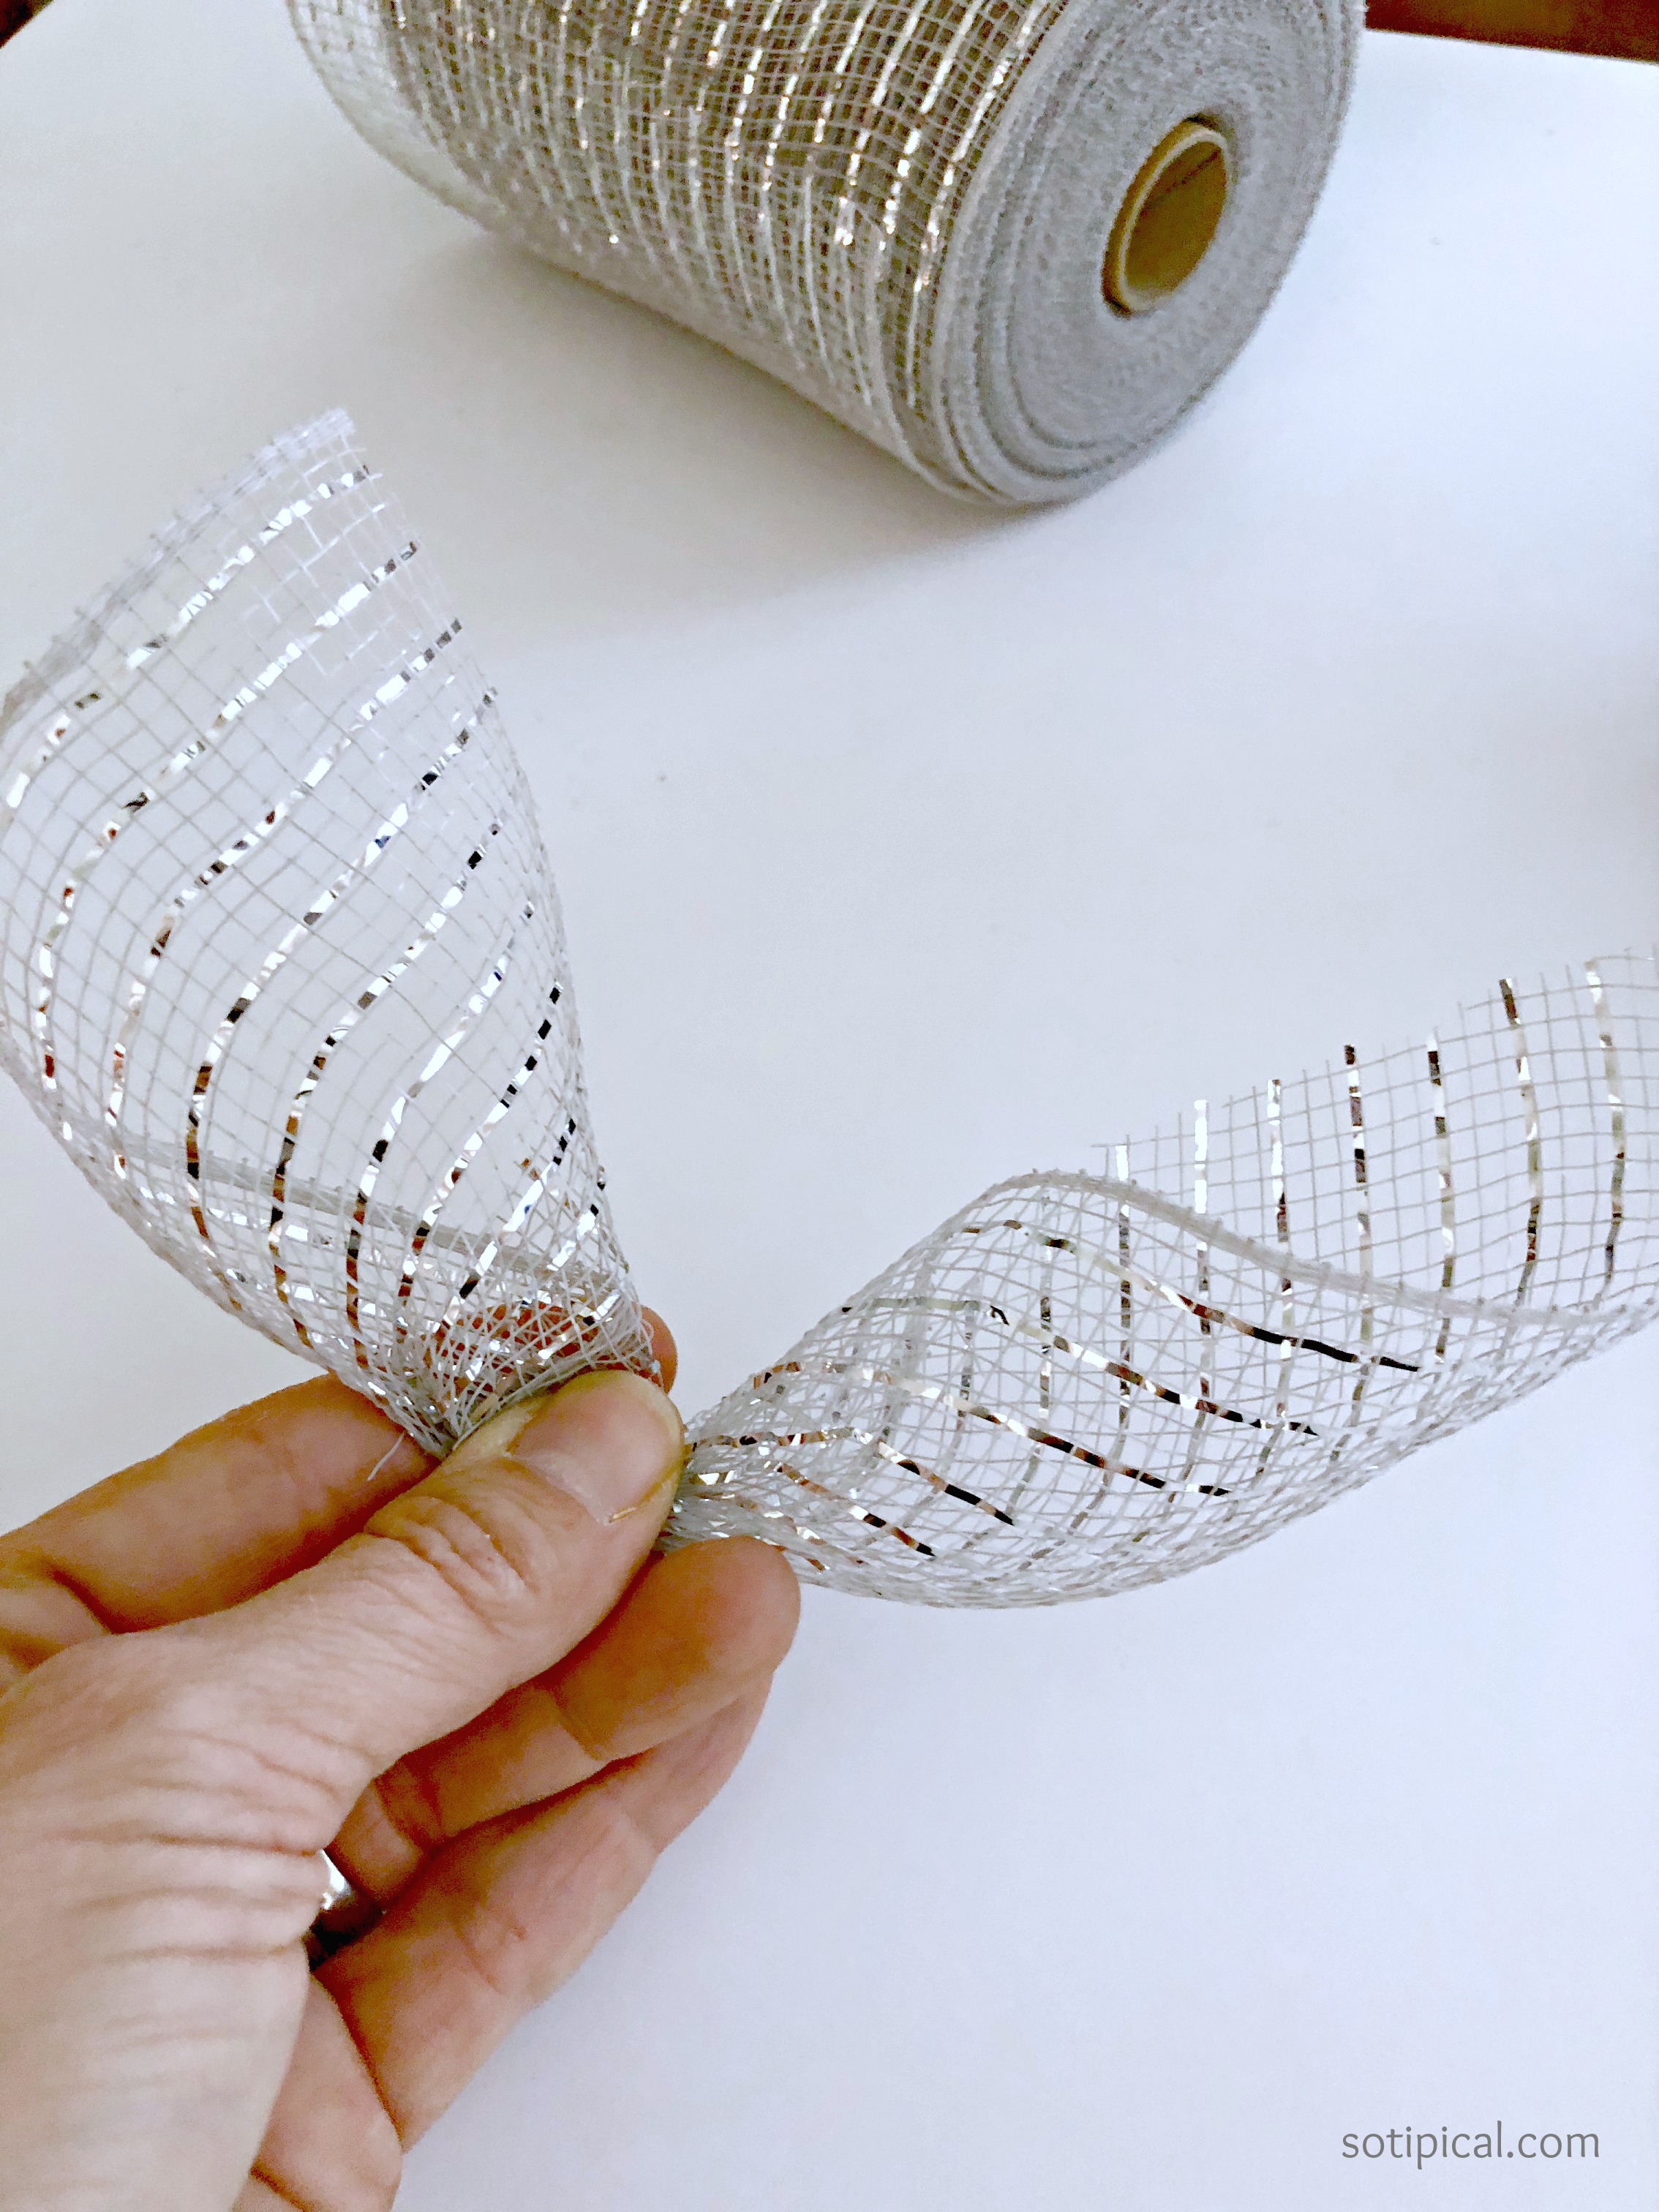
The first thing you will need to do is to lay out your supplies and begin cutting the ribbon. Measure out the ribbon to be similar in length to the dollar bills. Next I recommend twisting the ribbon into a “tube-like” form and twist in the middle.
If you choose to use larger denominations and use less bills, then layering or doubling up the ribbon will give your money tree more dimension.
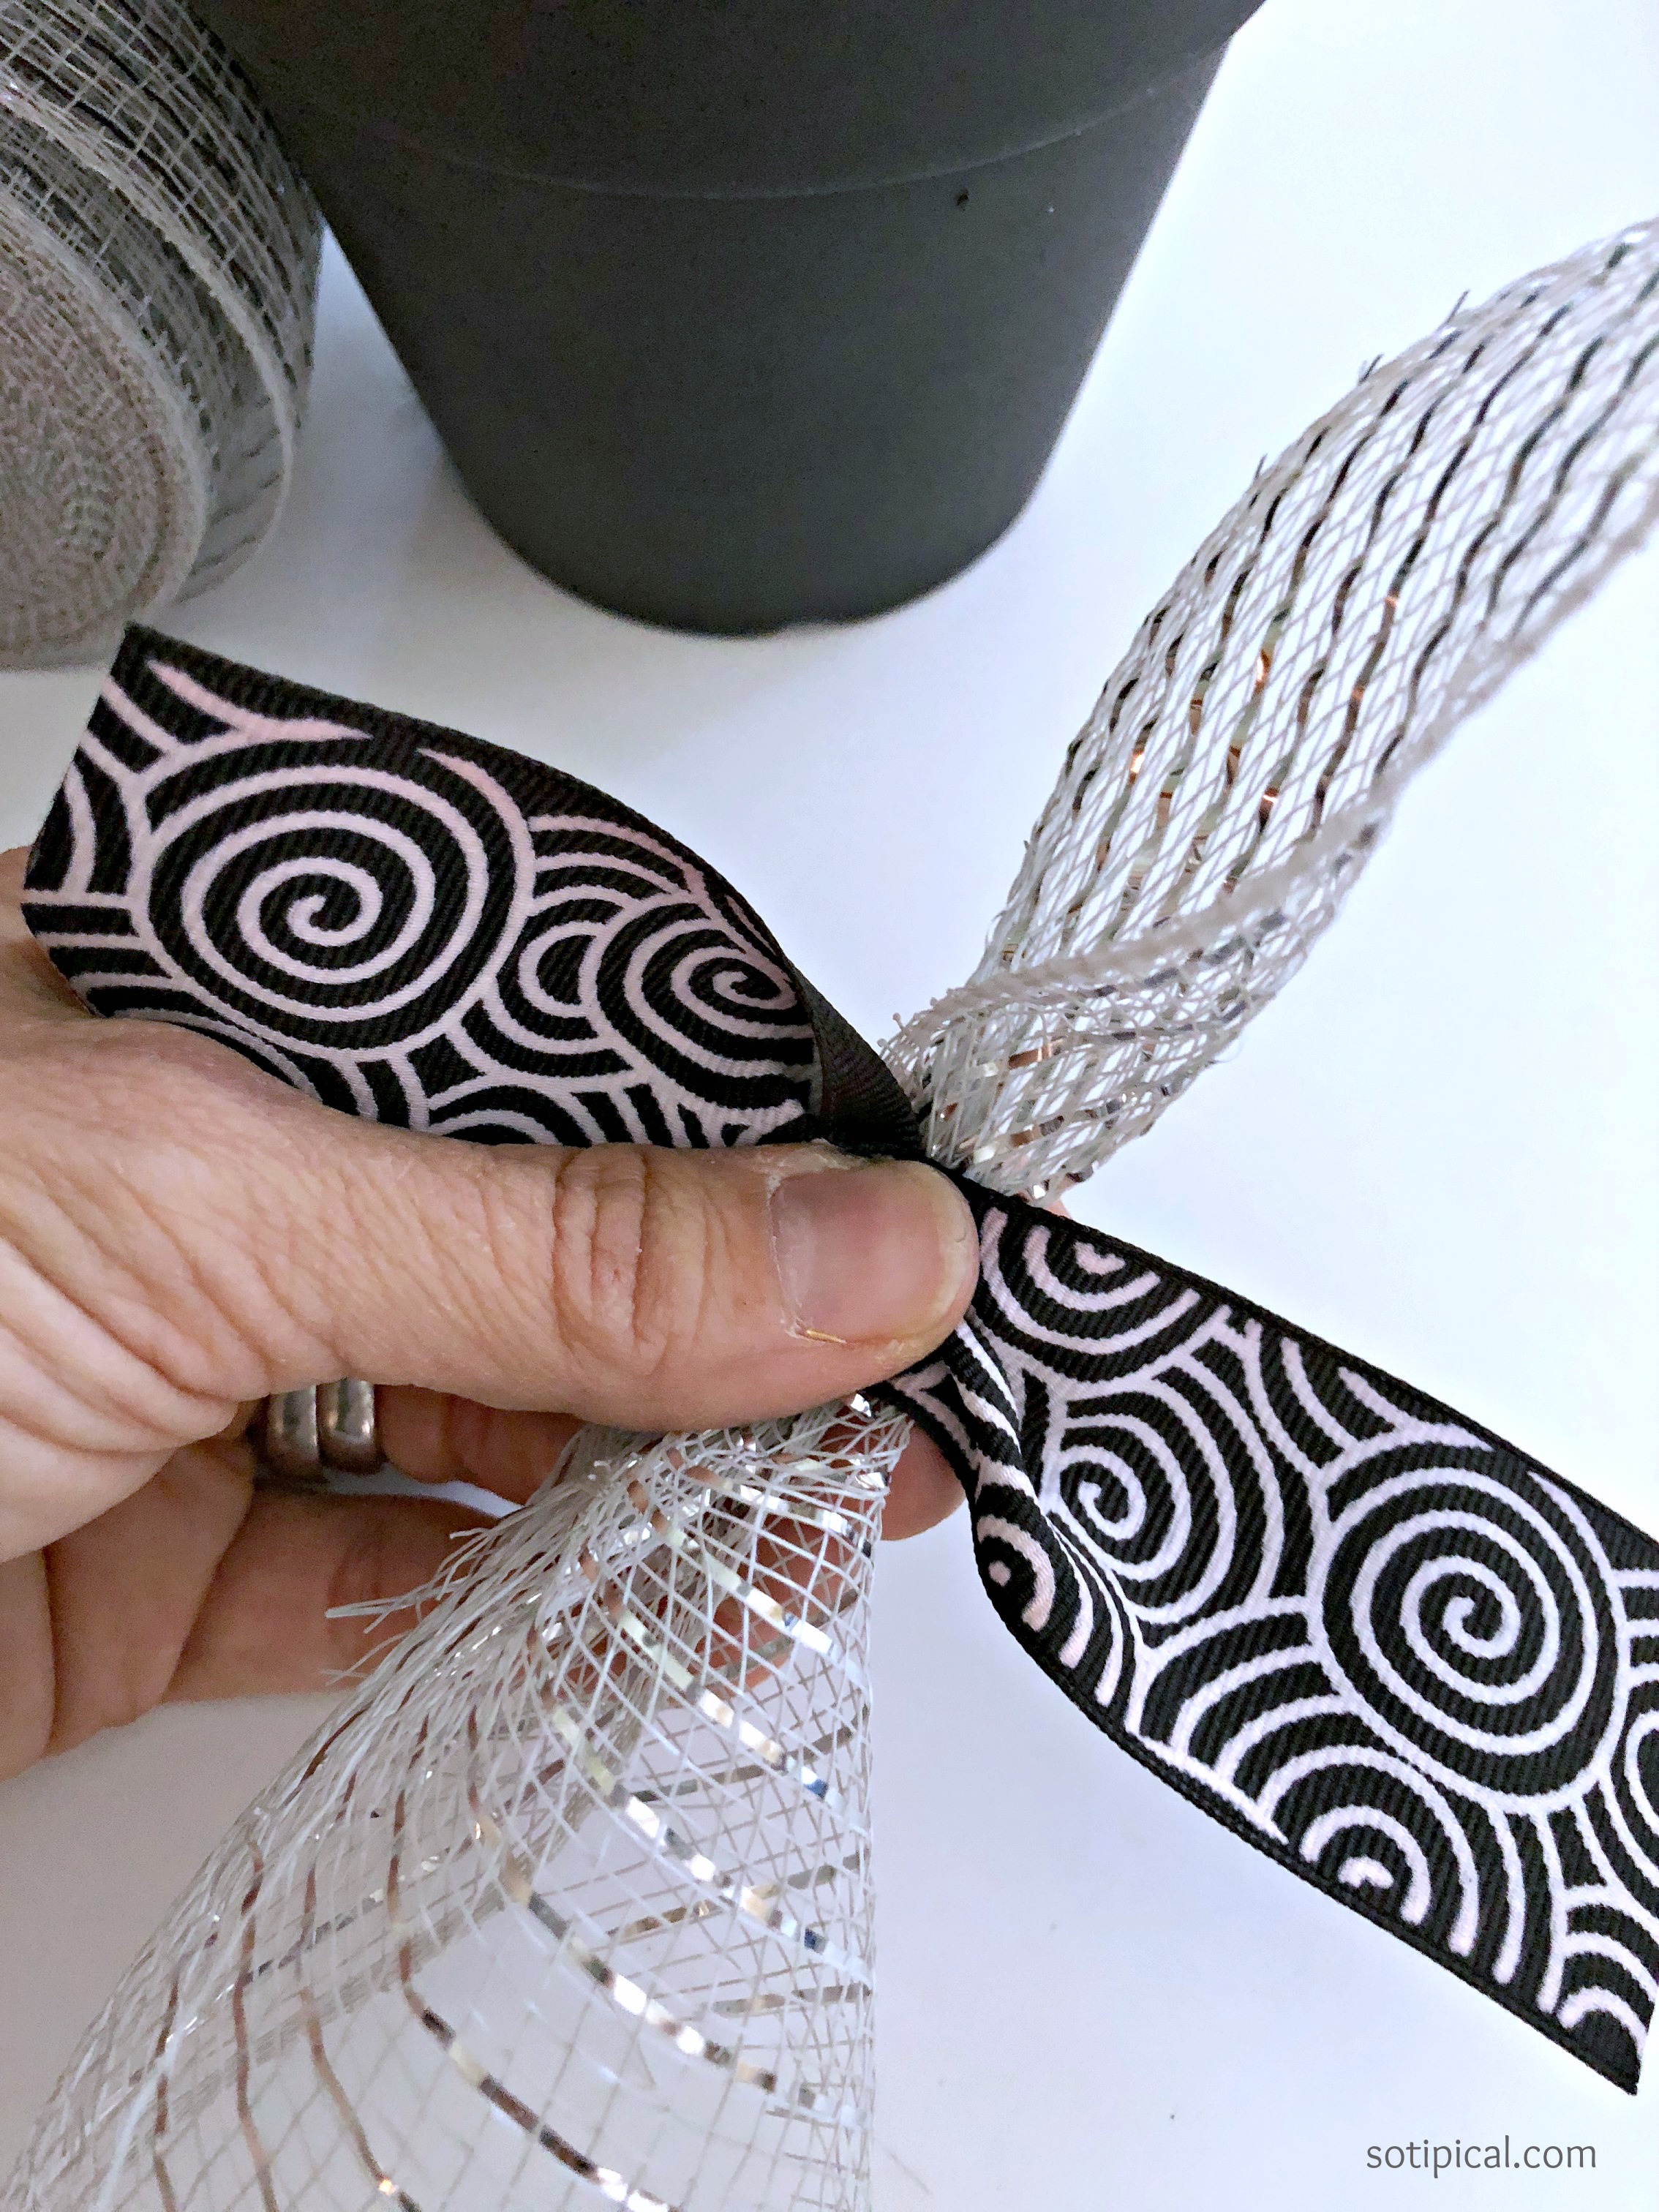
When adding the money, I pinched the middle to create the shape of a bow.
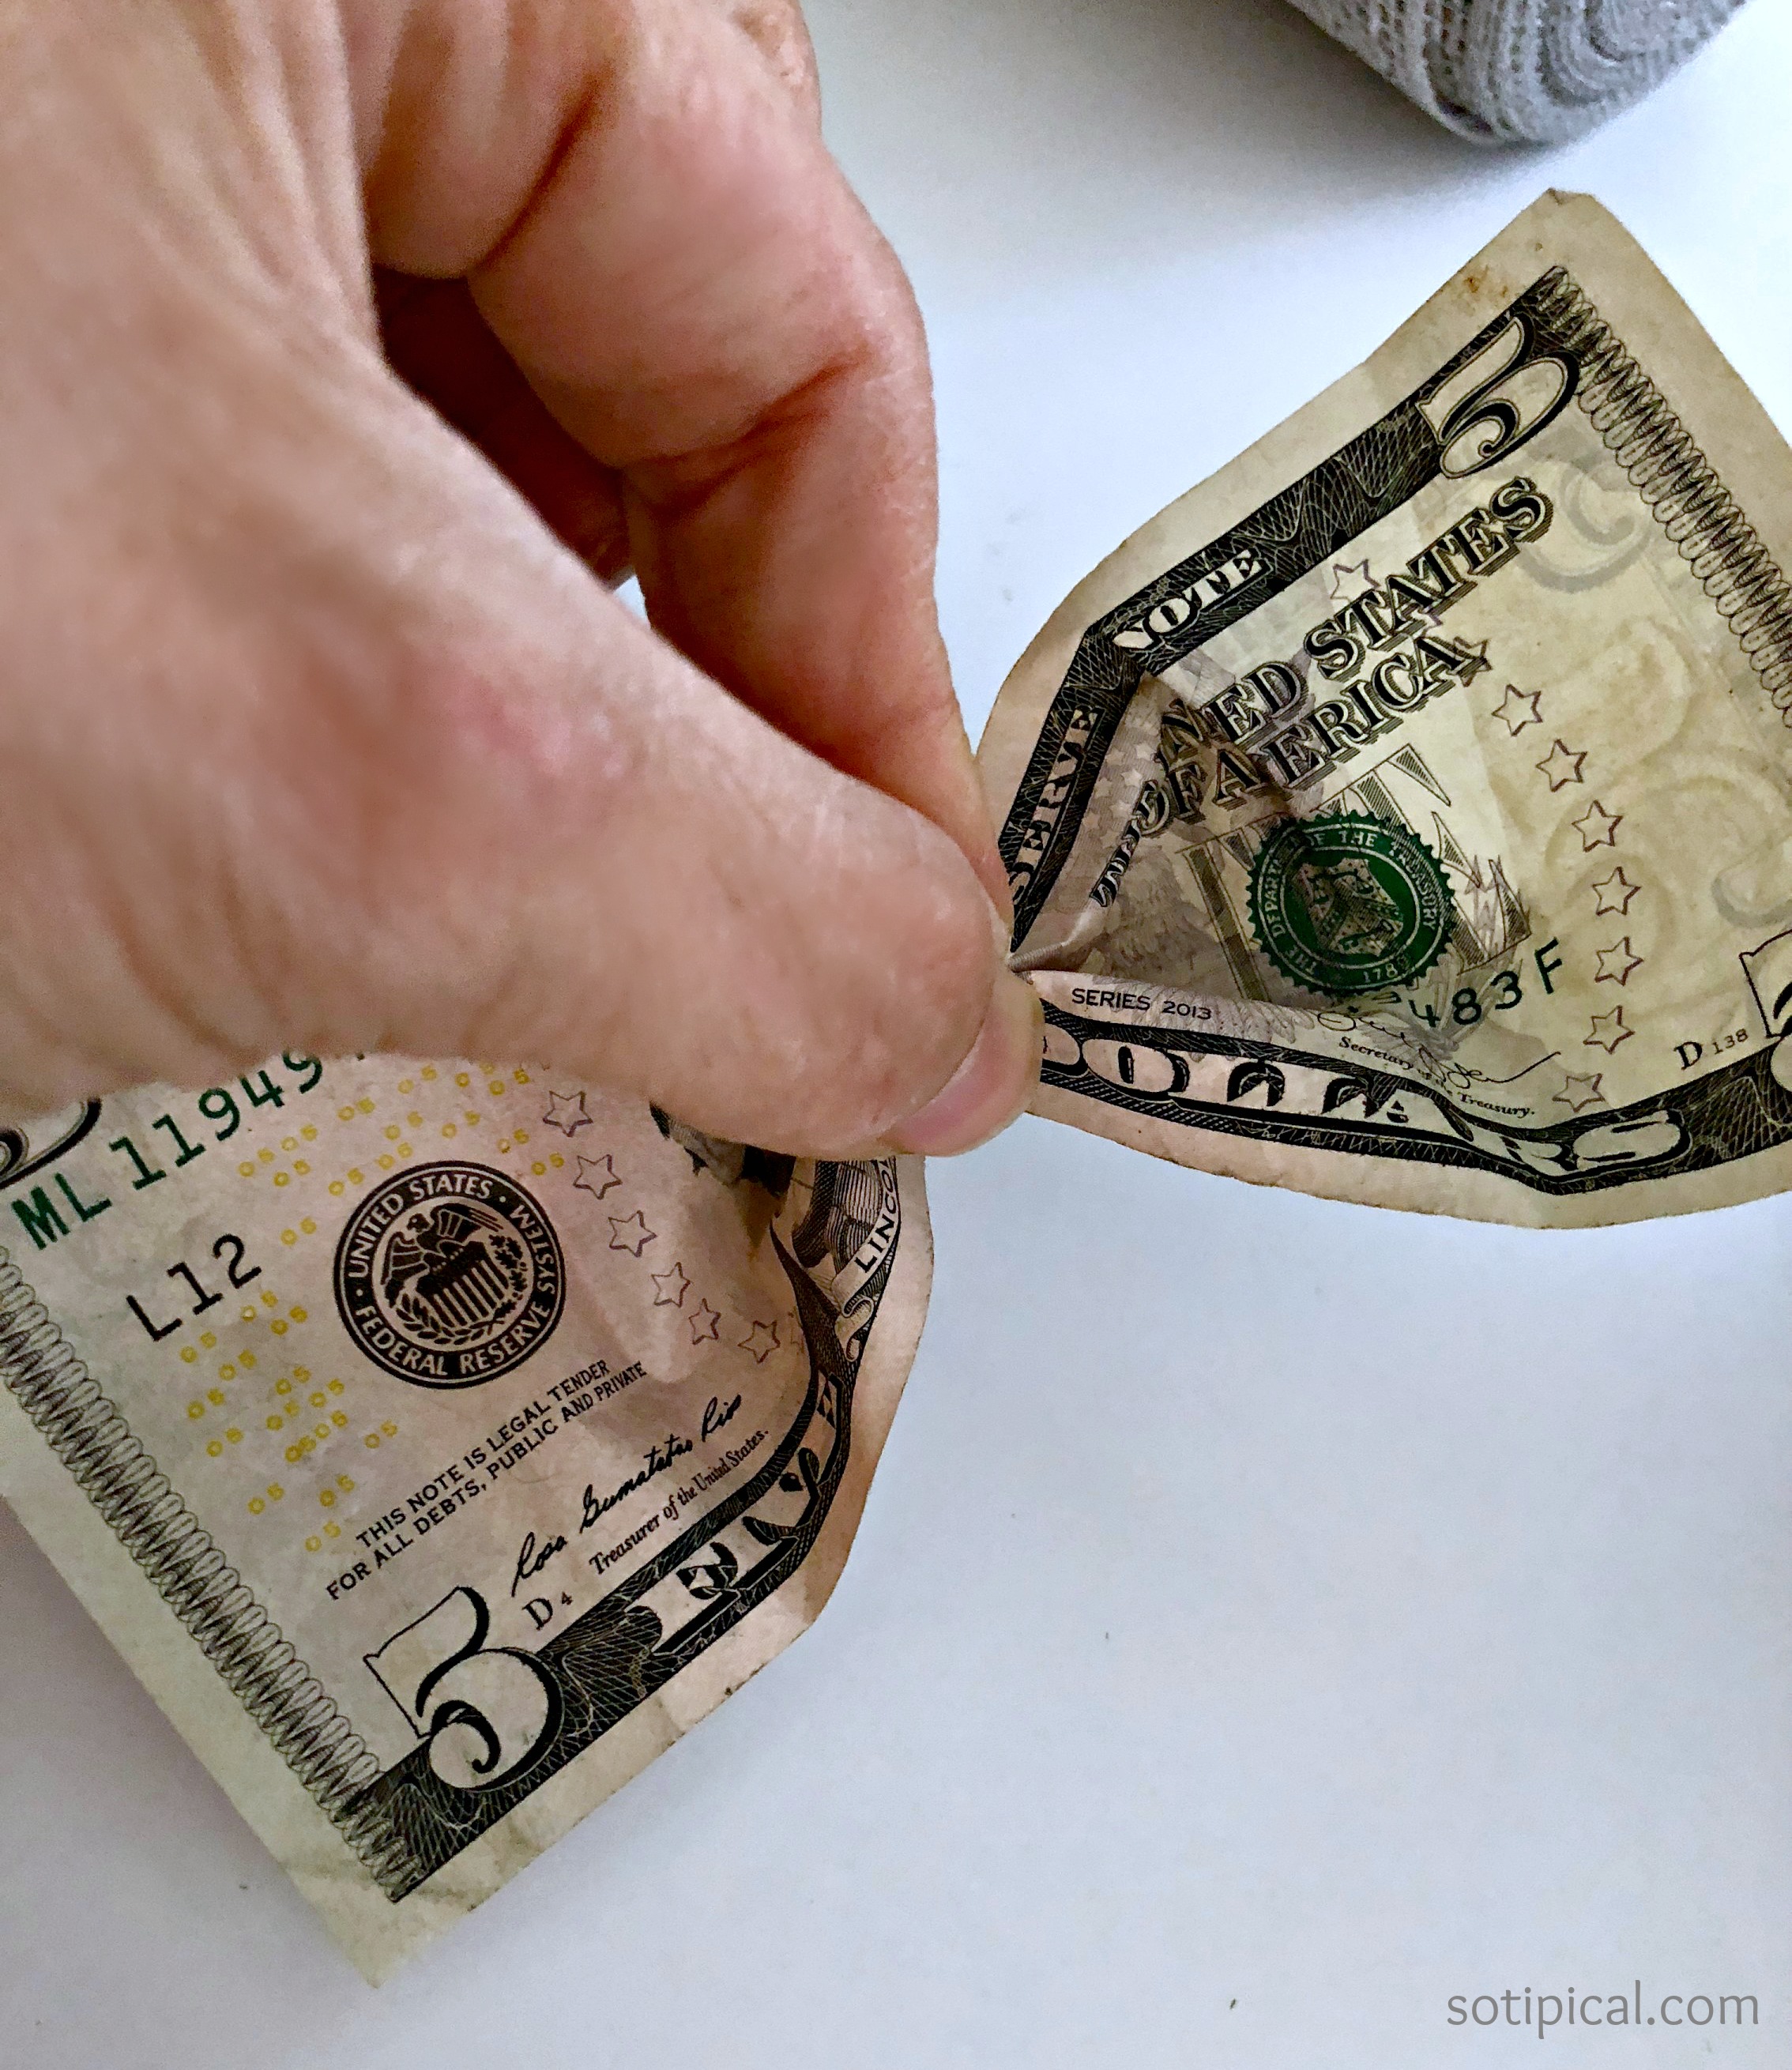
Again, to add more dimension, you can double up the bill with some ribbon to make the money tree full.
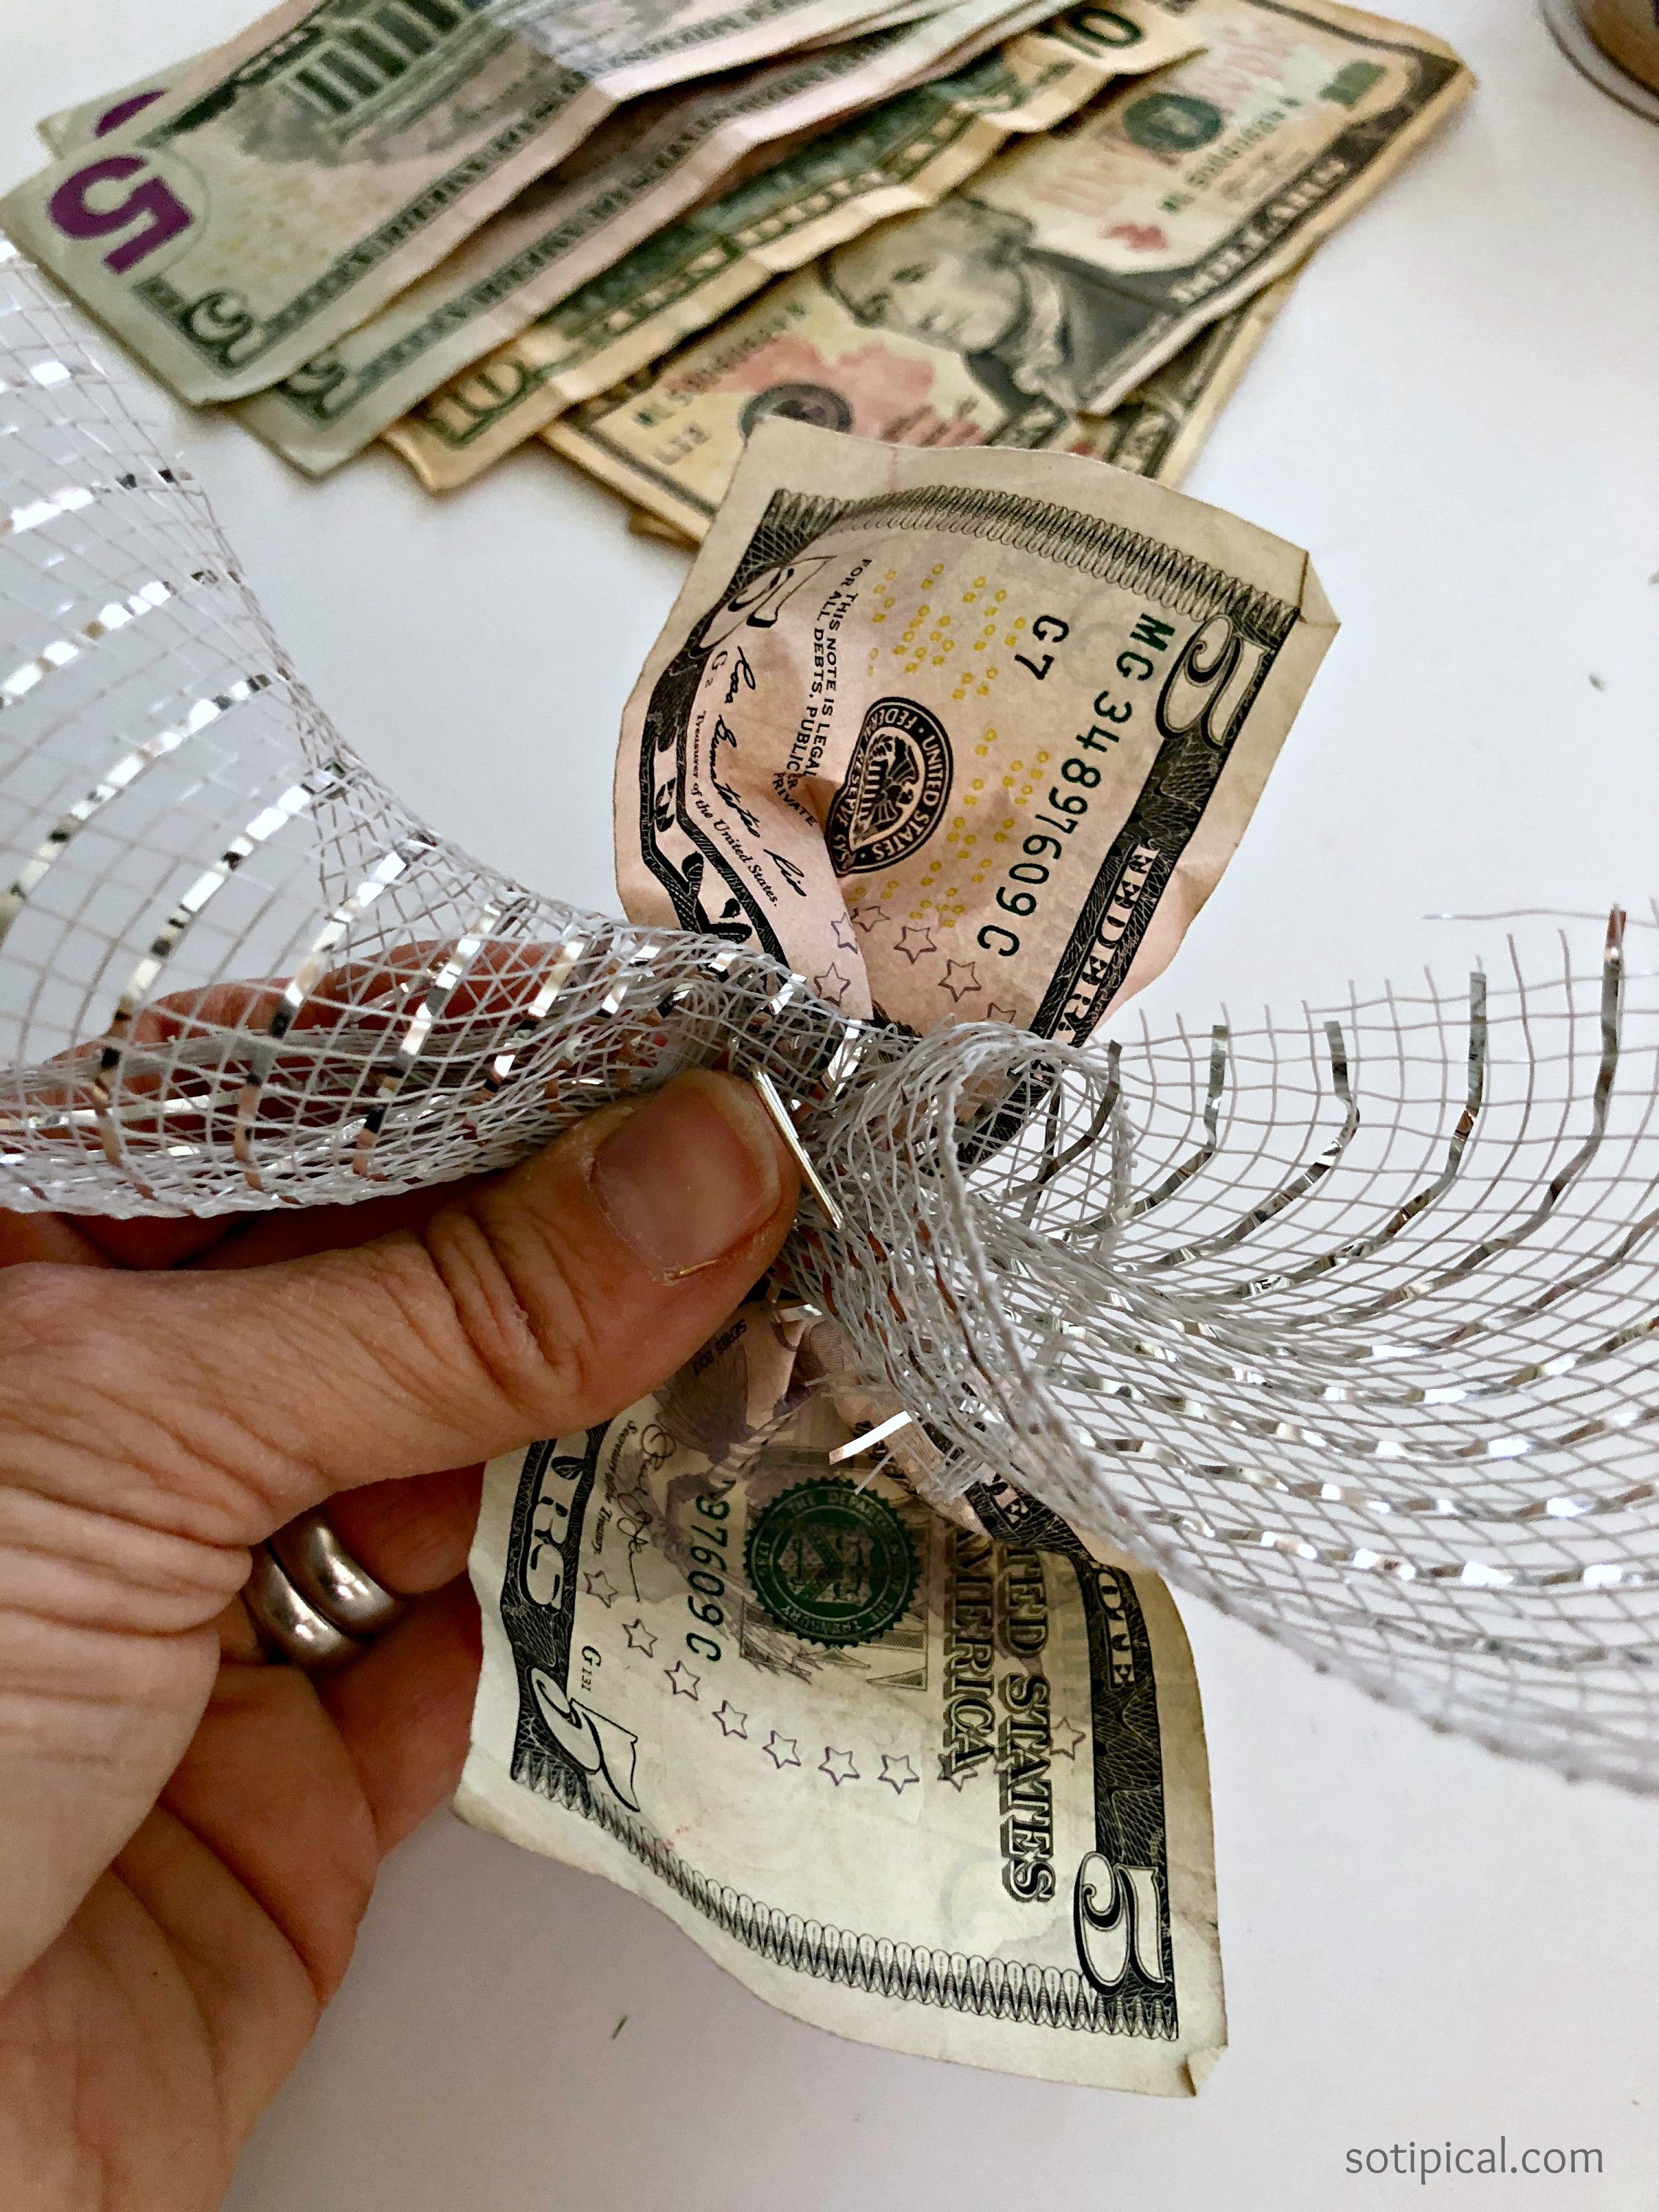
Using a T-pin, I secured each ribbon and bill into the 5 inch styrofoam ball.
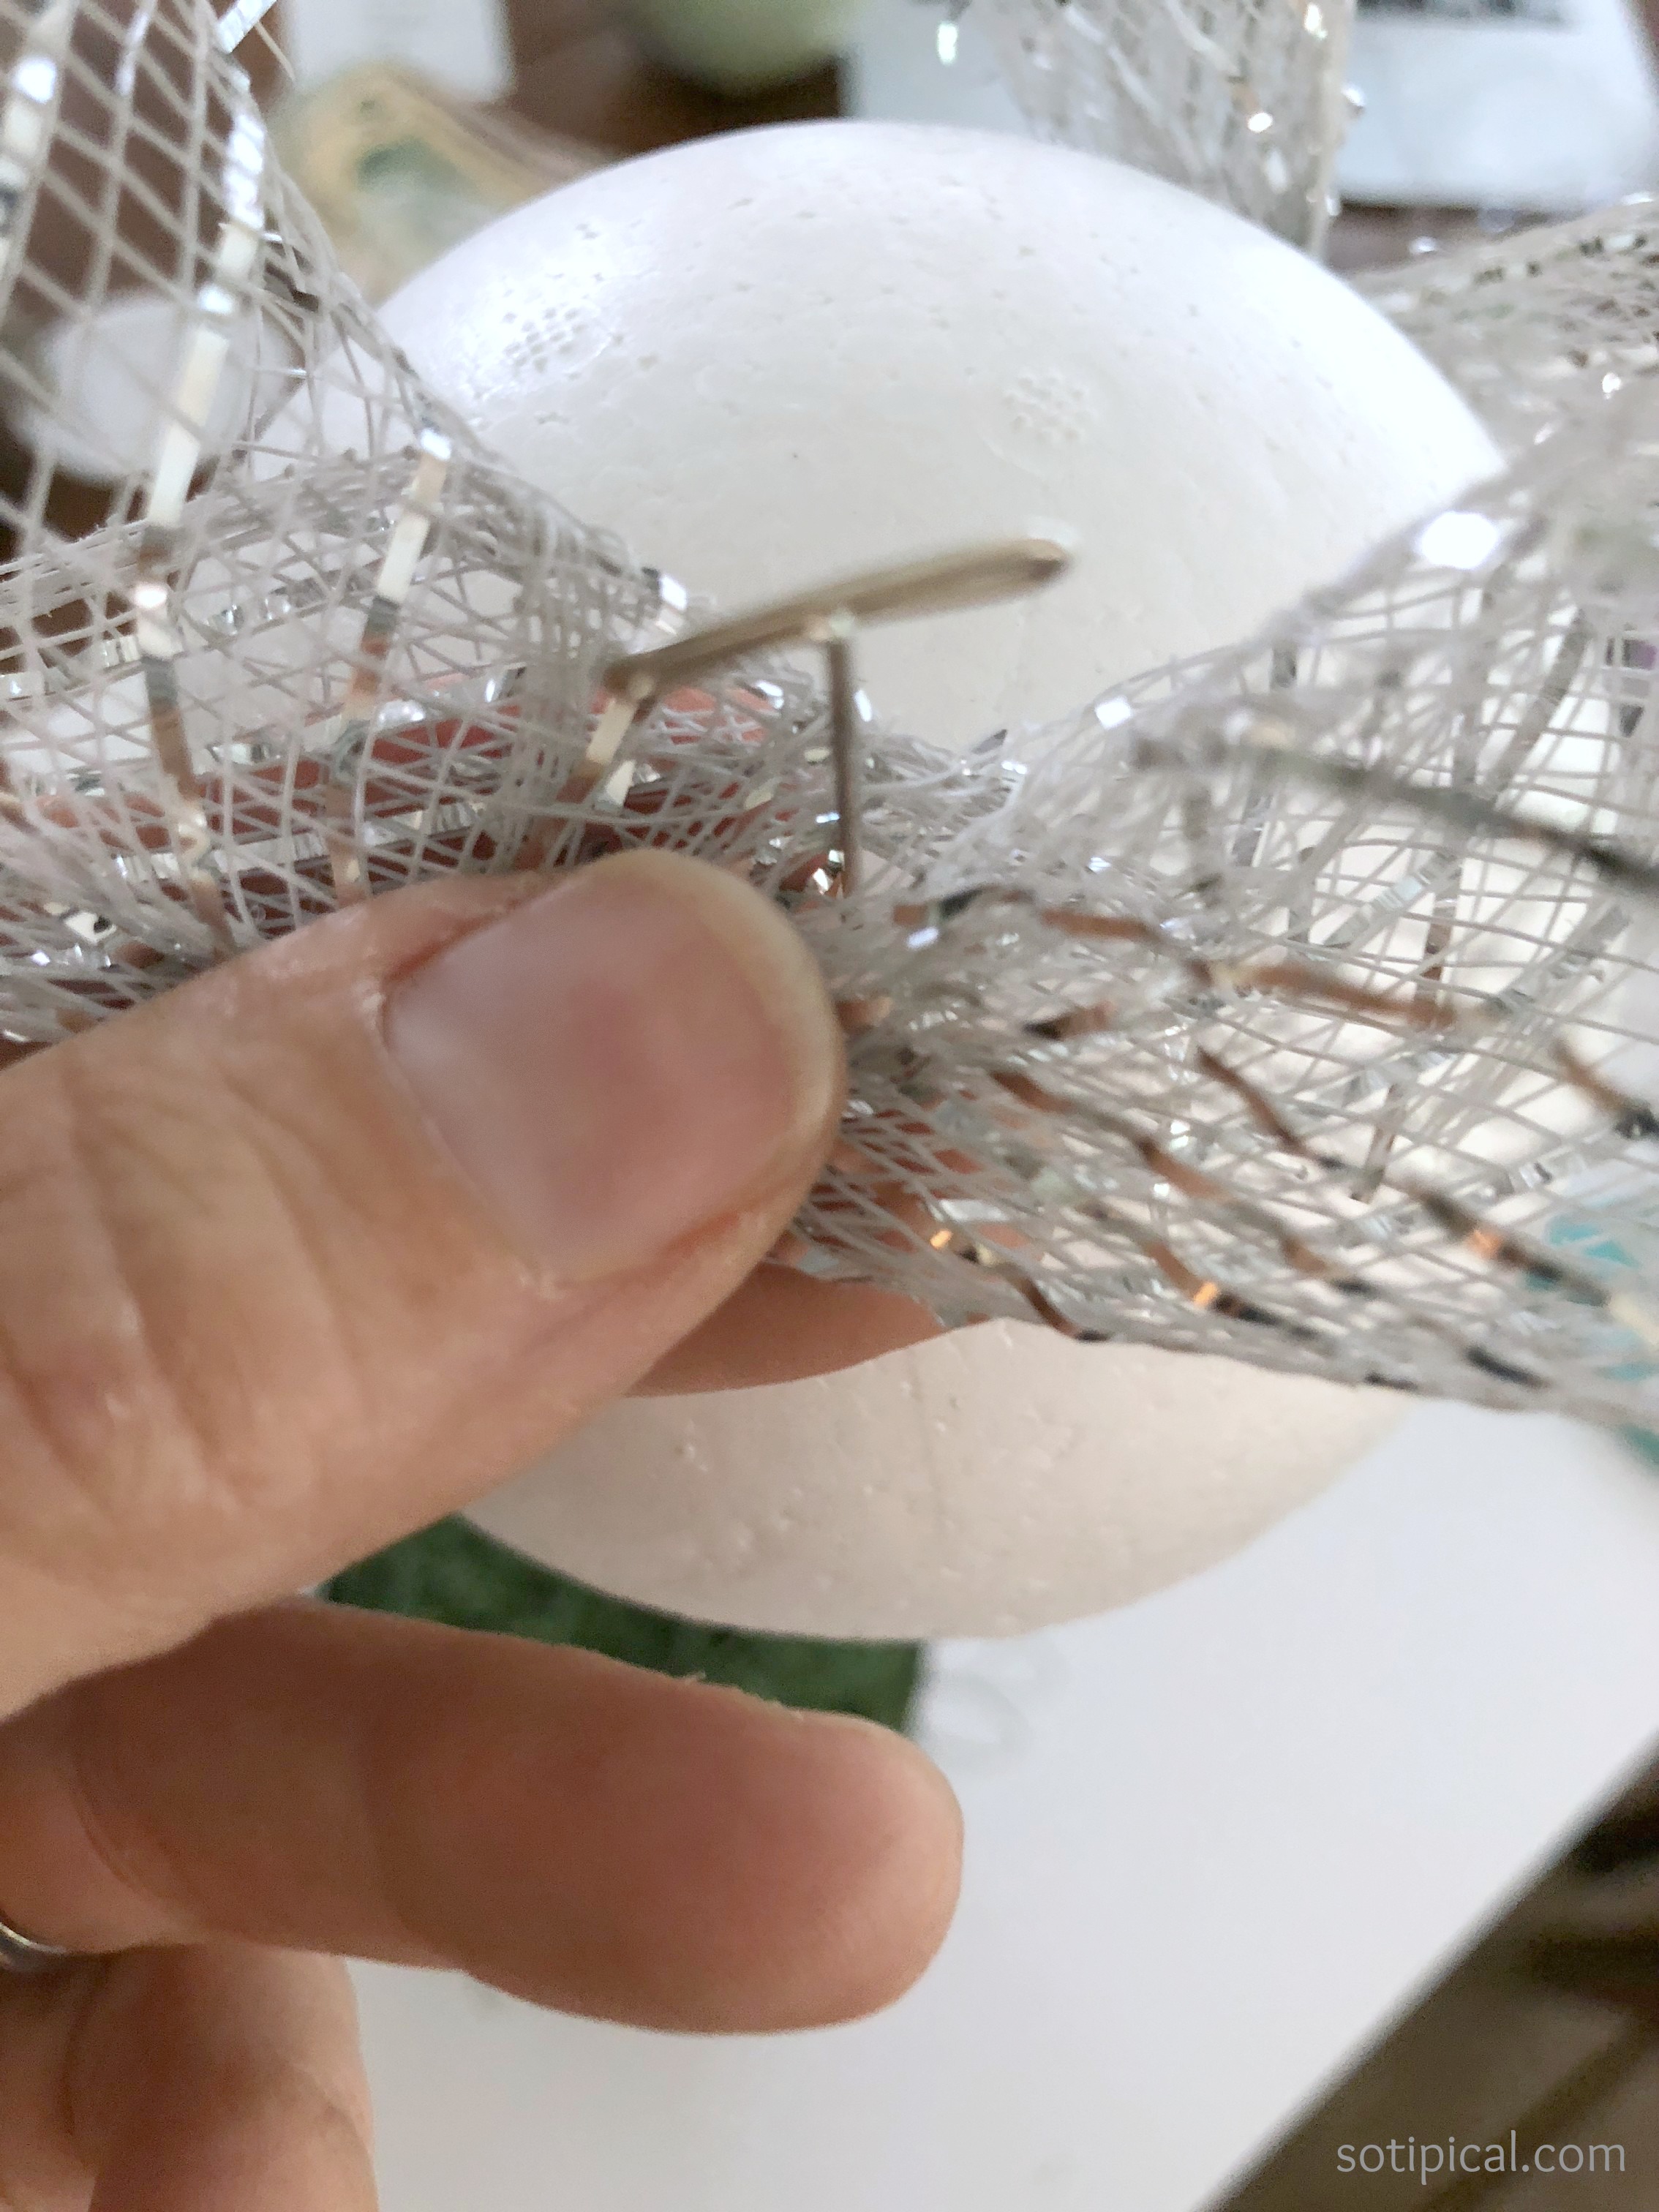
When using different denomination of bills, try to spread them out evenly throughout the ball. I used $100 in fives and tens. It was surprising to me that it was looking so sparse, so I had to add a lot more ribbon than planned. Then again, 50 one-dollar bills covers a lot more space than 5 tens and 10 fives!
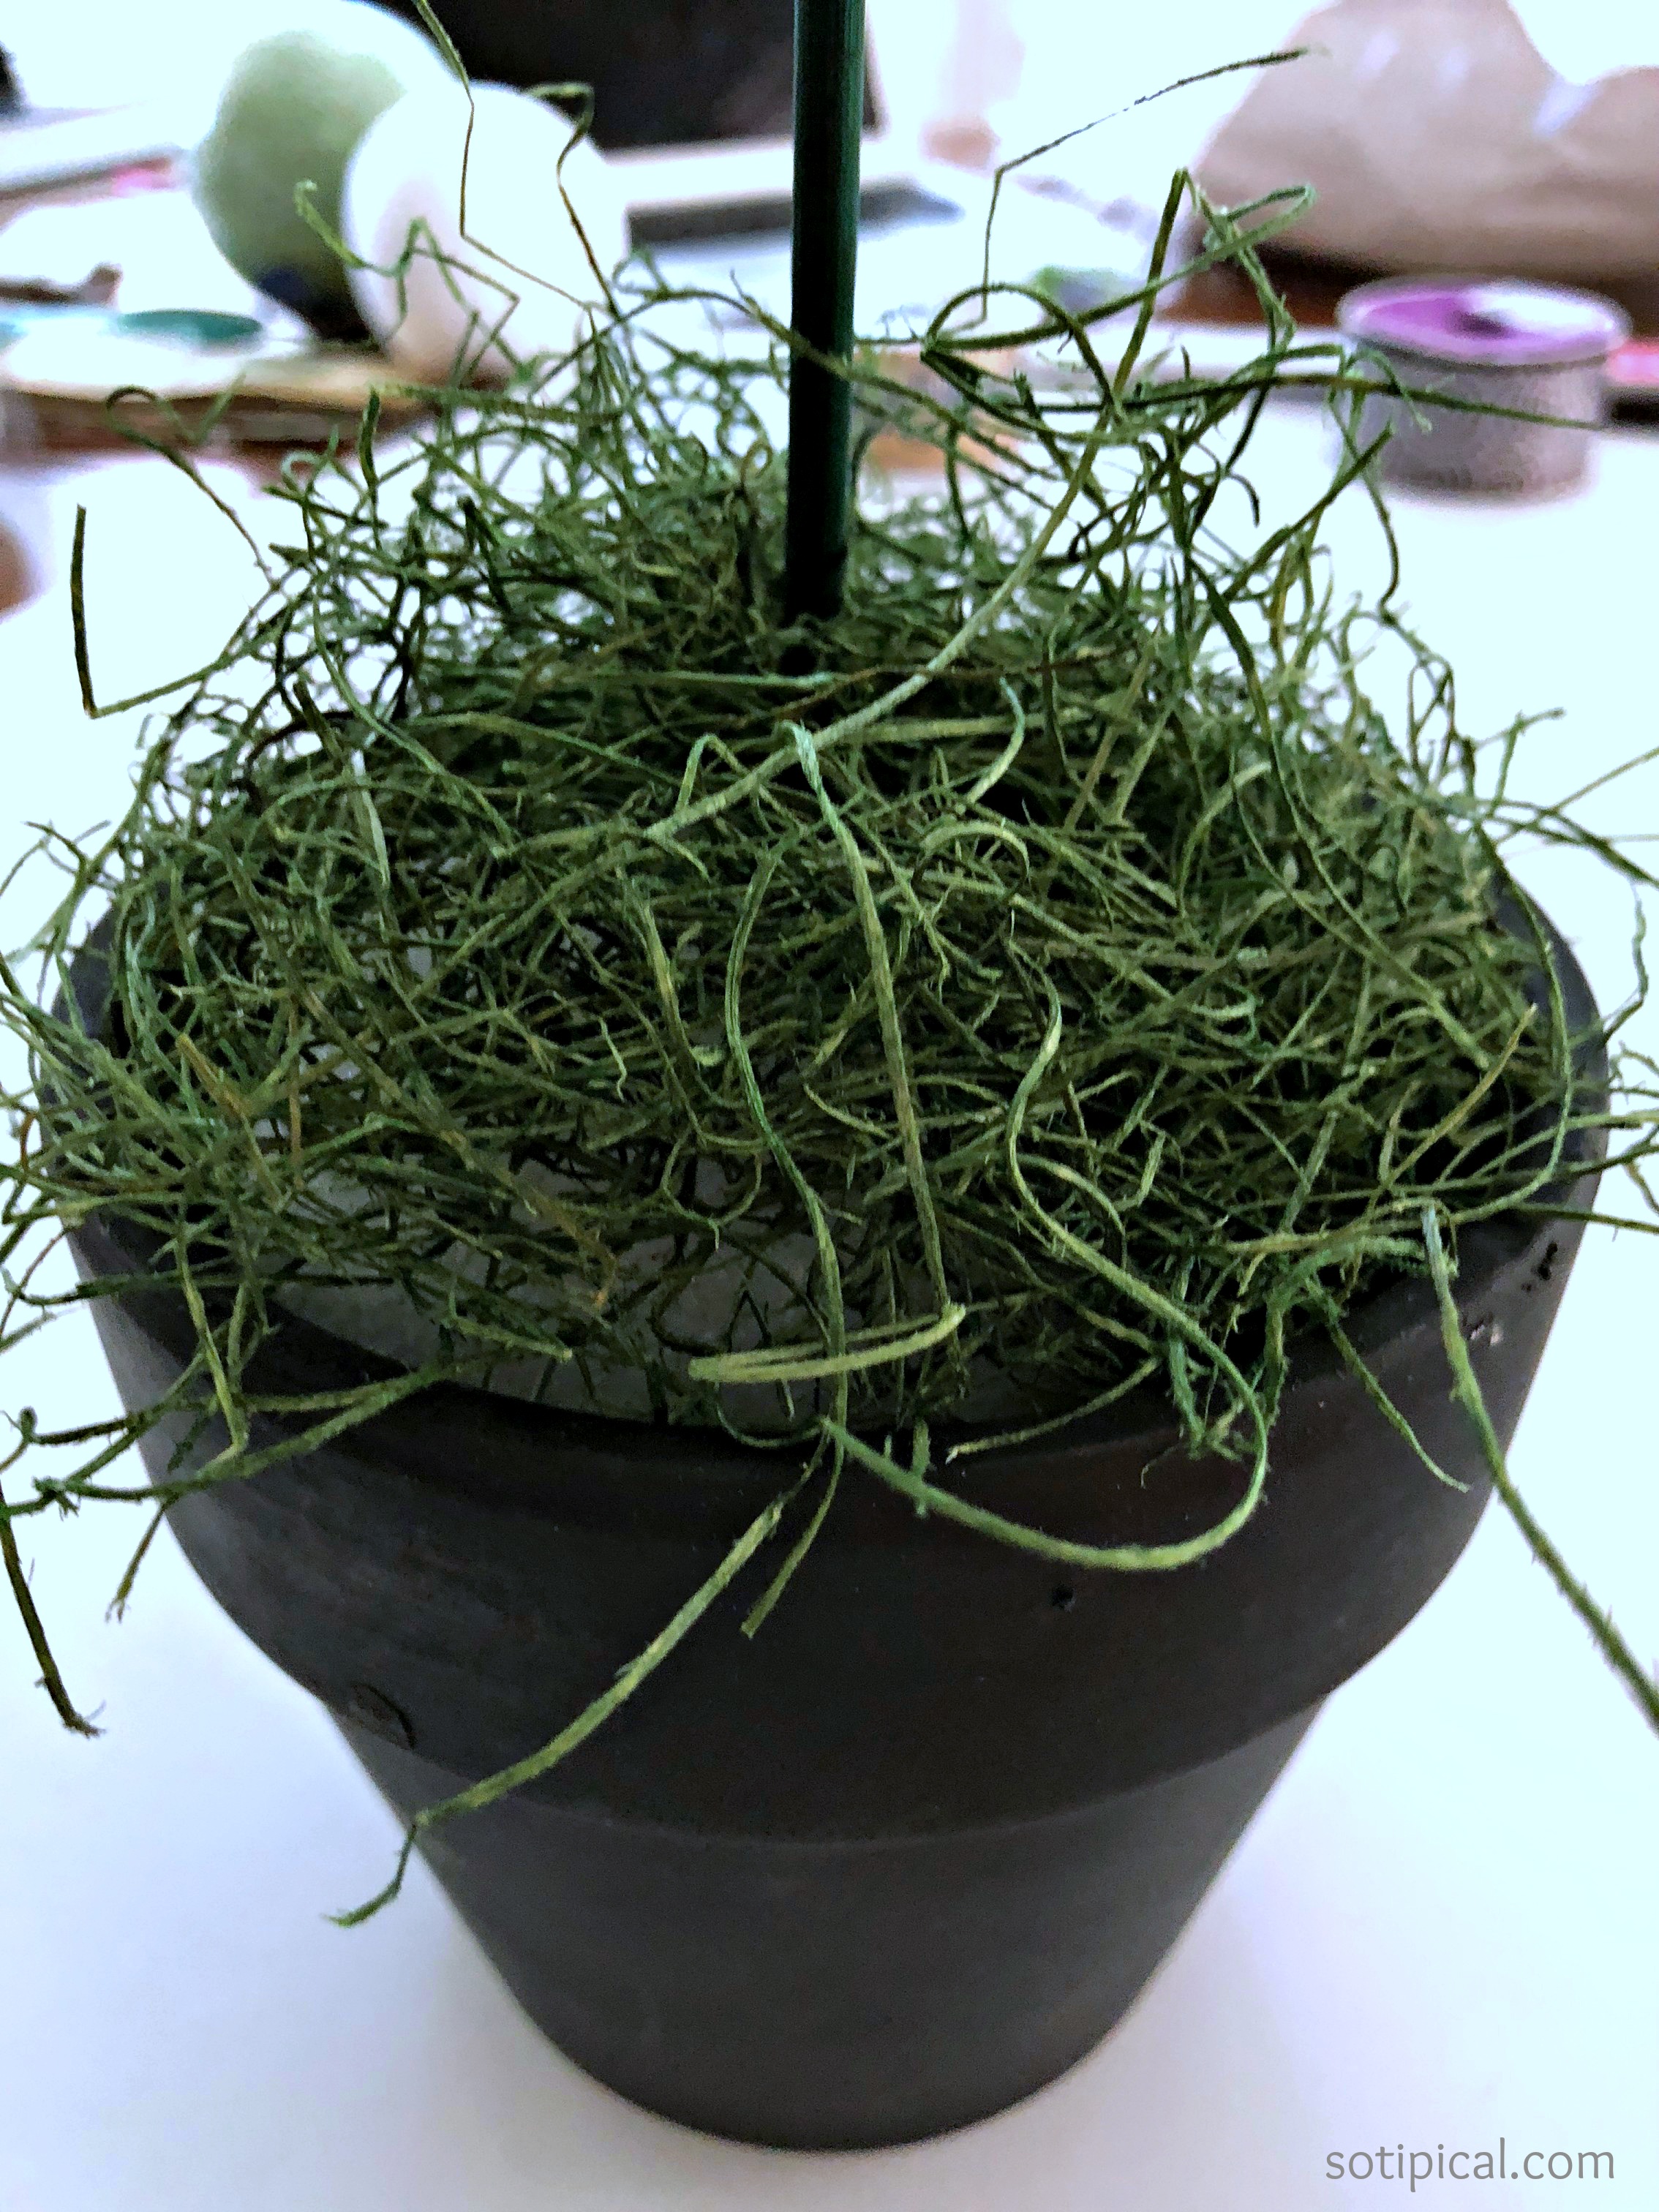
Press some styrofoam inside the pot. I had planned to use the smaller styrofoam ball pictured above, but it wasn’t a tight enough fit and the money tree was wobbly. I ended up removing it and cut a piece of floral foam to fit securely in the pot. Press your dowel or plant stake in the center and fill the top of the pot with moss. Place the styrofoam ball onto the top of the stake. If desired, add some decorative ribbon the stake or pin some into the moss.
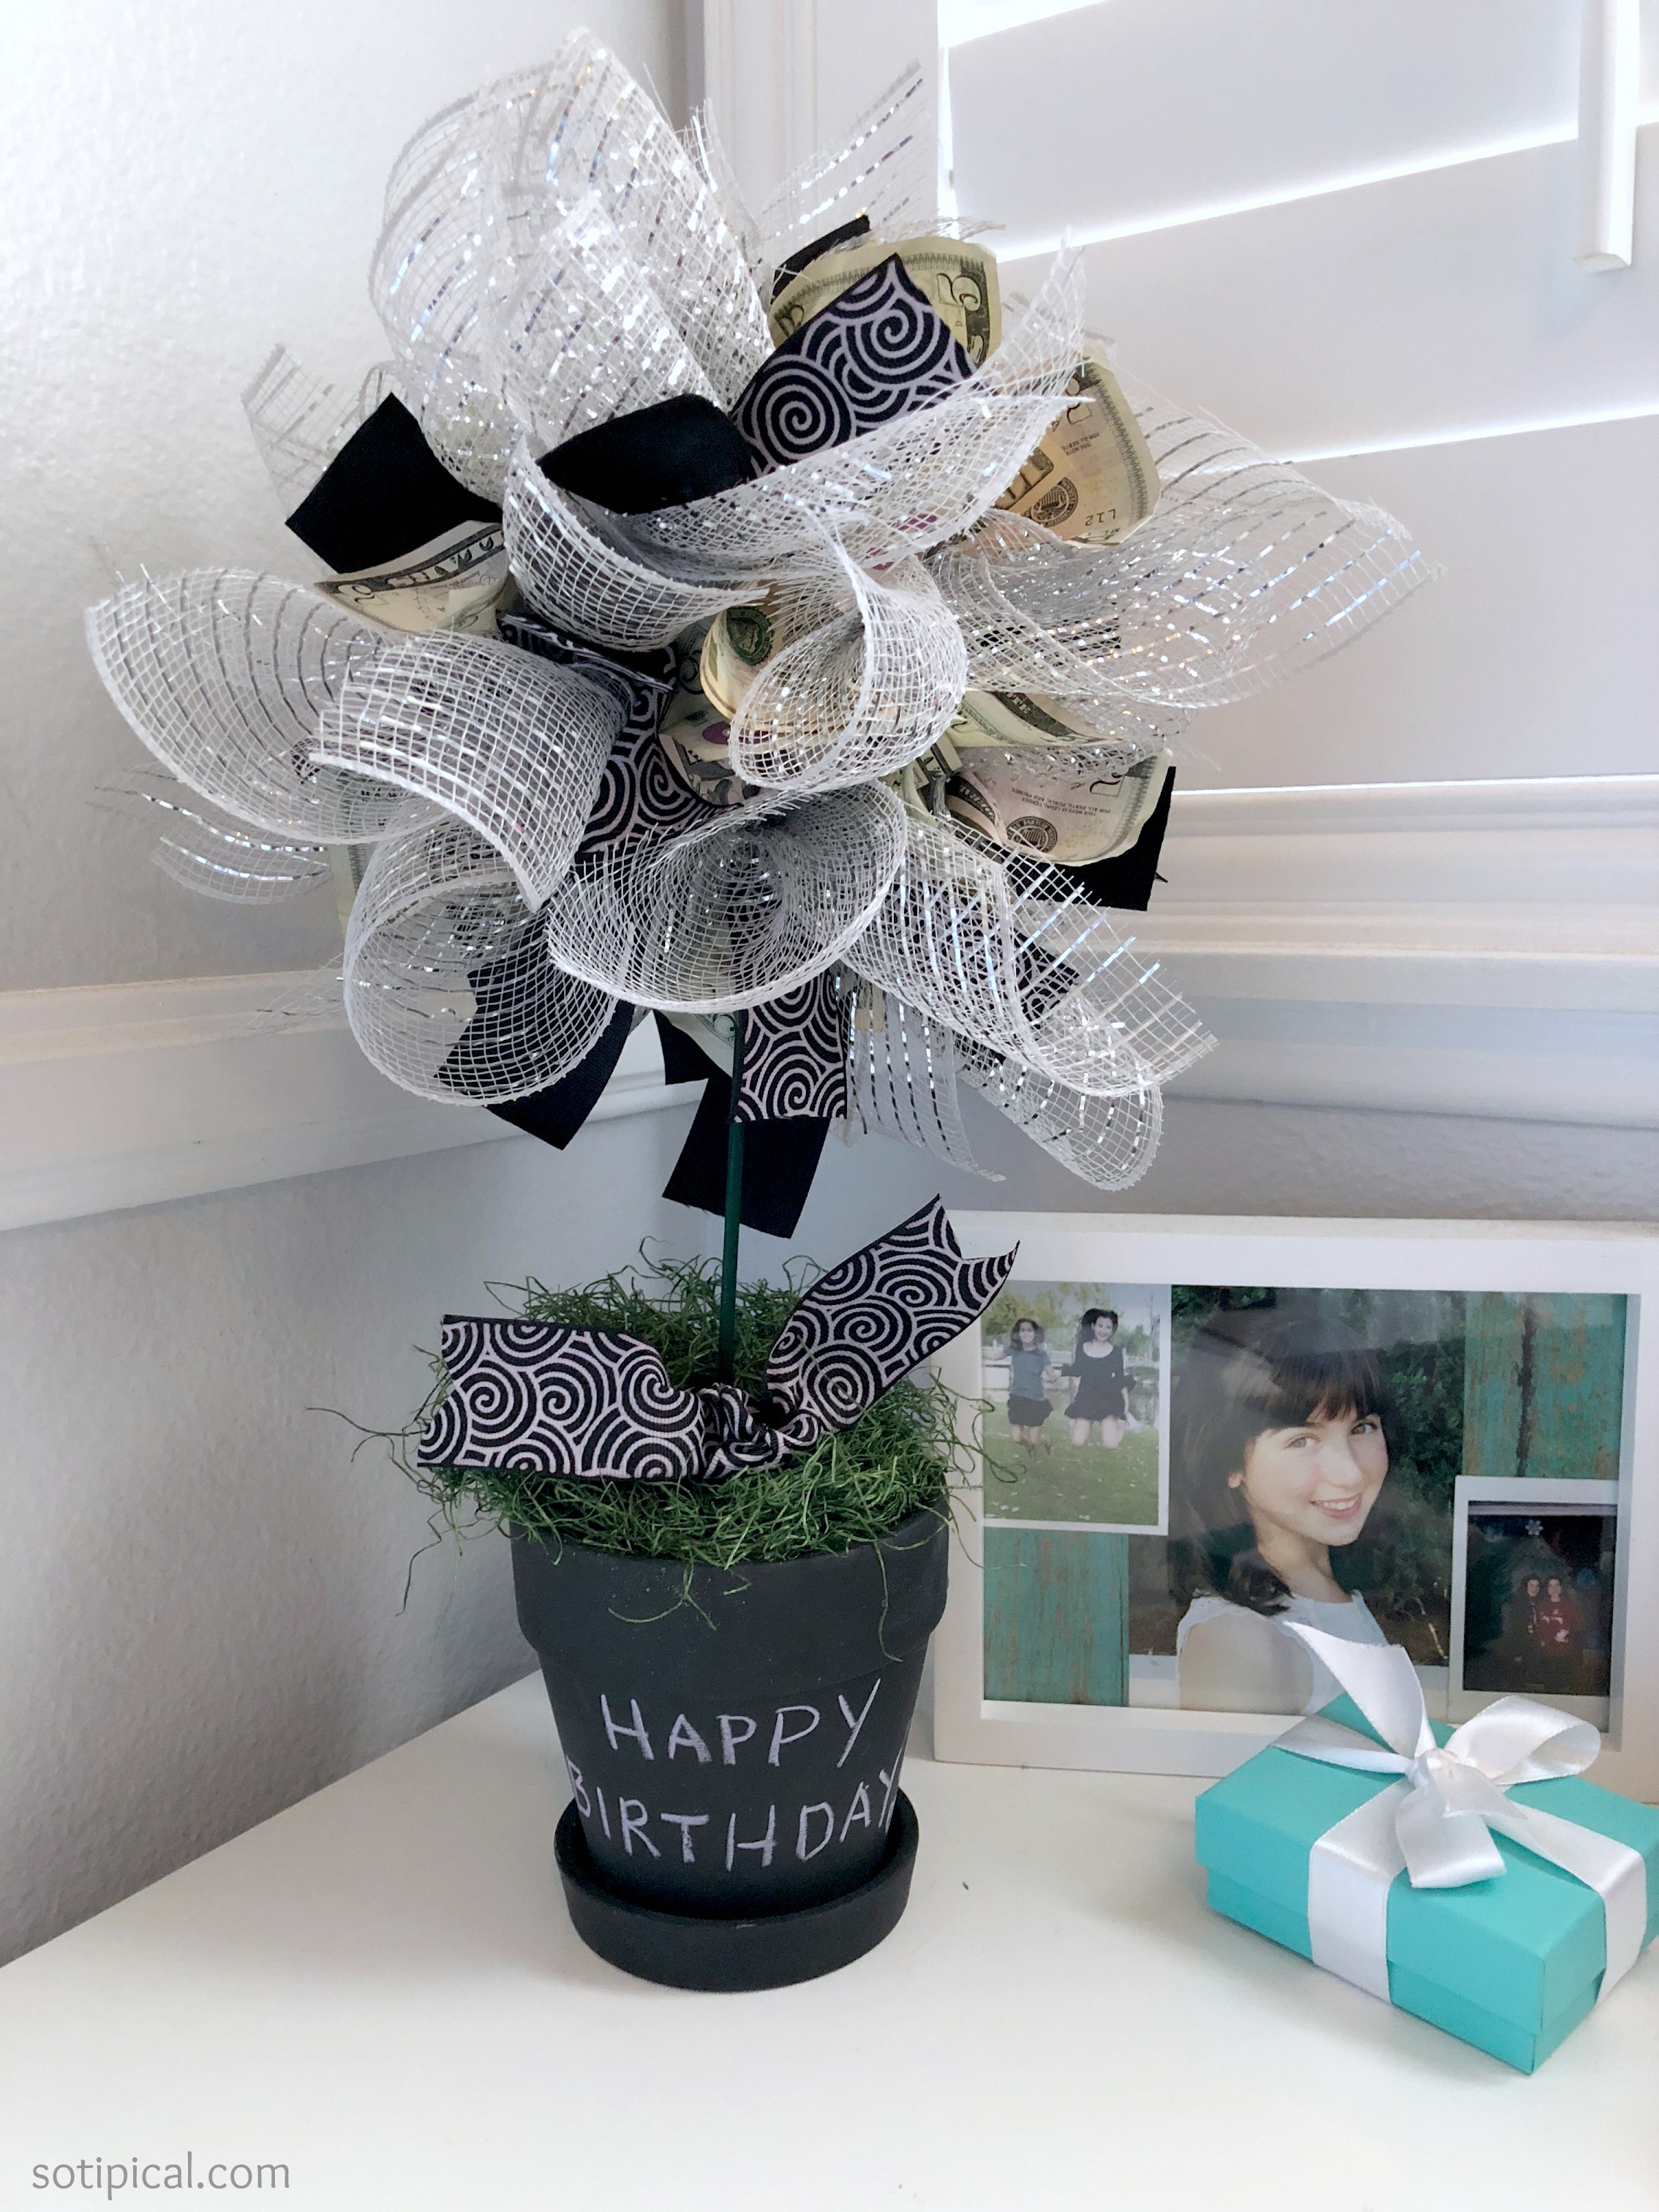
I am pleased with this money tree. Next time I may try more bills and less ribbon. It does take time, patience and a little practice to perfect! I love this DIY gift idea and so did my daughter. There are more money trees to come in the future!
Click Image Below To Pin This Tutorial:
![]()
Awesome!!! Can’t wait to do this for my impossible-to-shop-for teen niece 🙂
Beautiful and simple, clear steps. Thanks!!